I want you to have success making your Roman shades, and I hope this comprehensive tutorial gives you the full instructions you need. My goal here is one-stop-shopping for all your DIY Roman Shade from Mini-blind needs!
The internet is thick with tutorials for making Roman shades. I have seen some that tie-up, some that use dowels and pockets, and some that, like mine, use mini-blinds. I studied several before deciding to try the mini-blind method on fabric shades for my dining room. They were a success, but a learning process to complete.
Then, a couple of weeks ago, I helped a friend with a Roman shade for her kitchen. As we worked, I decided I would make another Roman shade for my kitchen, and document the process along the way in hopes of making a more thorough set of instructions than many we found.
Here is one of my dining room shades. I was happy with how they turned out, but the learning curve was a bit steep. The tutorials got me on the right path, but they also left some steps out. I will try to address every step of the process for you.
No tutorial is complete without the "Before" picture. Clearly, my window needed dressing. We live a few feet from our neighbors (who we love, thankfully!), but I'm sure they don't want to see me washing dishes every time they glance in our direction!
How to Make Roman Shades with Mini Blinds
1. Measure. You will need to measure your window's height and width. You also need to decide if you want the shades to be hung inside the window frame, or above and outside the frame. After doing both (my dining room shades are mounted inside the frame; the kitchen shade is outside), I prefer the look of the outside mount.
2. Choose fabric. Using those measurements, purchase fabric that is the dimensions of the window's area, plus at least 2 inches per dimension to allow for hemming. Home decorator fabric is ideal for this because it is heavier than quilting cotton, but not as heavy as an upholstery. If the window gets an abundance of sun, consider a decorator fabric that is made to not fade in sunlight, like Waverly Sun 'n Shade. I love Fabric.com, but you can also find good decorator fabrics at JoAnn's, Hobby Lobby, and even Walmart.
3. Purchase mini blinds. Using your measurements, choose a blind that is the width of the window plus 2-4 inches, if you are doing an outside mount; or choose a blind that is the width minus 1-2 inches if you are doing an inside-mount. The height of the blinds doesn't have to be exact, but it needs to be at least as long as your window. They can't be too long, just too short.
 4. Gather supplies.
 You will need:
- Fabric (see #2 above)
- Mini Blinds (see #3 above)
- Good scissors (not pictured)
- Needle nose pliers (not pictured)
- Hemming tape and/or Sewing Machine and thread
- Measuring tape, rulers, and/or yard stick
- Hot glue gun + hot glue sticks
5. Prep your blinds for surgery. When you remove your blinds from the box, they will look like this. Find the release cord and pull it out to the side to release the pulley so the blind can be spread out.
Here they are released and spread out to their full length.
6. Cut the ladder cords. On every blind, there are two kinds of cords: The Lift Cords and The Ladder Cords. The lift cords run through little holes in the blind slats and are attached to the pulley system to allow the blinds to go up and down. You need the lift cords, so do not cut them. The ladder cords hold the blind slats in place and allow the blinds to be tilted open or close to adjust the light that is filtered by the blinds. You do not need the ladder cords, so use scissors to cut them out.
I cut along the horizontal "rungs" of the ladder cord (as shown in the picture above), and then at the top and bottom to separate them from the top and base of the blinds.
After you have cut all the ladder cords, you can discard the mess of string you have collected.
Your blind slats will look like this, able move freely up and down the lift cords, once the ladder cords are removed.
7.Remove plugs to expose lift cords. At the bottom of the blinds is a thicker, hollow base slat. On the bottom side of the base are plugs that hold the lift cords in place.
Pull the plugs out. You will see the lift cord inside with a knot in the end. Pull the knotted end out (you may need needle nose pliers for this). If you have some ladder cord still stuck in there, it can be discarded.
8.Determine the number and size of folded sections you want in your Roman shade. Sections look nice anywhere from 8" to 12" wide (this is the vertical width). My window is 52 inches high, but I planned an outside mount which would add a few inches, so I rounded up to 54 inches, which allowed me to plan for 6 folded sections, each 9 inches in vertical width.
9. Remove excess slats and size blinds. Remove slats by untying the lift cords and pulling the slats off the bottom. Leave 1 less blind slats than the number of sections/folds you will have in your blind. If your Roman shade will have 6 sections, you should remove all but 5 slats, not counting the top and base.
Size the length of the blinds by moving the base of the blinds up on the lift cord so the distance from the top to the base is the height you want your Roman shade to be. Make sure the cords are pulled straight, then tie them off evenly and stuff them back into the base holes.
Once the height is right, replace the base hole caps. I found that they stayed in place better if I left a little cord hanging out.
10. Remove the tilt rod hook. This part isn't hard, but it also isn't pretty. It is, however, necessary for your shades to lay nicely. The hook that sticks out at the top of the blinds for holding the rod that can be turned to tilt the blinds should be removed. Using needle nose pliers, firmly grip the plastic above the hook. Holding the top of the blinds still, twist and squeeze the small plastic cylinder to break it and release the hook.
11. Size and hem the fabric. Measure the height and width of the blinds again (you can't be too careful). Add on the number of inches to each size that you want your hems to be. I like the look of a thicker hem at the top, and smaller 1" hems along the sides and bottom, so I cut my fabric adding on to allow for those folds.
I used my sewing machine for some hems, and I also tried the
iron on hemming tape. Both worked well, so it is really a matter of preference.
12. Line up the blinds on the fabric. This is where extra rulers and measuring tapes come in handy. Lay your hemmed fabric face-down on a large, flat workspace. A table is ideal, but your kitchen floor will work if need be. Lay the blinds, also face-down, on the fabric, lining up the top along the top, and the base along the base.
Move the slats along the lift cords so they are equal distance apart from each other. You may want to use chalk to mark their spots so you can easily re-place them if they move.
**Remember as you are measuring, that the vertical width of the slats is part of your section width; so if each section is supposed to be 9 inches, you need to include the slat in that measurement. Don't just measure the distance between the slats.
13. Use hot glue to bind the slats to the fabric. This was the part of the process that was most surprising to me. The hot glue not only works, it works WELL at binding the slats to the fabric.
Begin by gluing the top of the blinds to the top of the fabric, making sure everything is super straight and even. I was especially generous with the glue here since the top is heavier than the slats.
Next, lift small (6-8 inch) sections of slat and lay hot glue directly underneath. Then immediately press the slat in place.
Do not glue about 1/2 inch on either side of the lift cords. This needs to be left open so the cord can move freely.
This is a matter of preference/ need, but I found that my fabric could be 1/2 inch wider than the slats on each side and still operate effectively. This is helpful if you need or want your shades to be a bit wider than the blinds you bought.
Finish by gluing the bottom of the fabric to the edge of the base of the blinds, along the front, short side of the base piece.
On my first Roman shades, I glued the fabric to the bottom of the base, so the fabric was covering the little plugs. The shades still function fine, but when they are let all the way down, the edge is curled under. Gluing to the front of the base, even though it is a smaller surface area, allows the fabric to lay flat at the bottom.
14. Hang the shades. Use the hardware and directions that came with the blinds to hang your new shade. Be sure to use all the center braces possible, since the fabric may be heavier than the slats you removed.
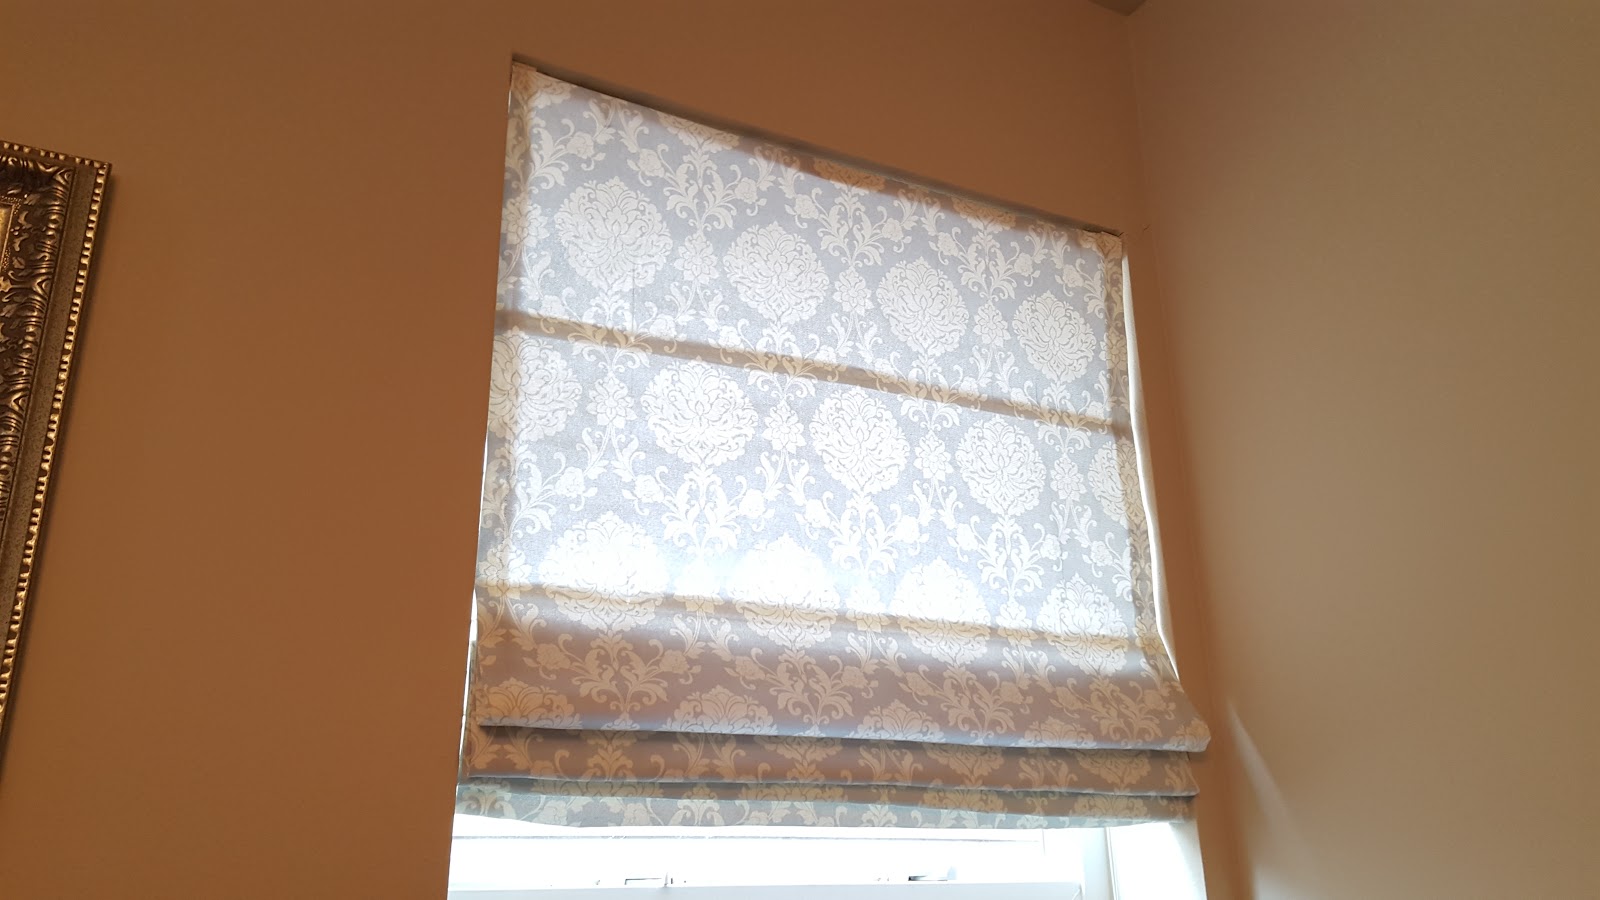
You are done!!! To operate the shade, use the pull strings the same way you would raise and lower blinds. Sometimes I have to manually smooth the folds a bit, but nothing major. I have been super pleased with the finished product on all my homemade Roman shades!